
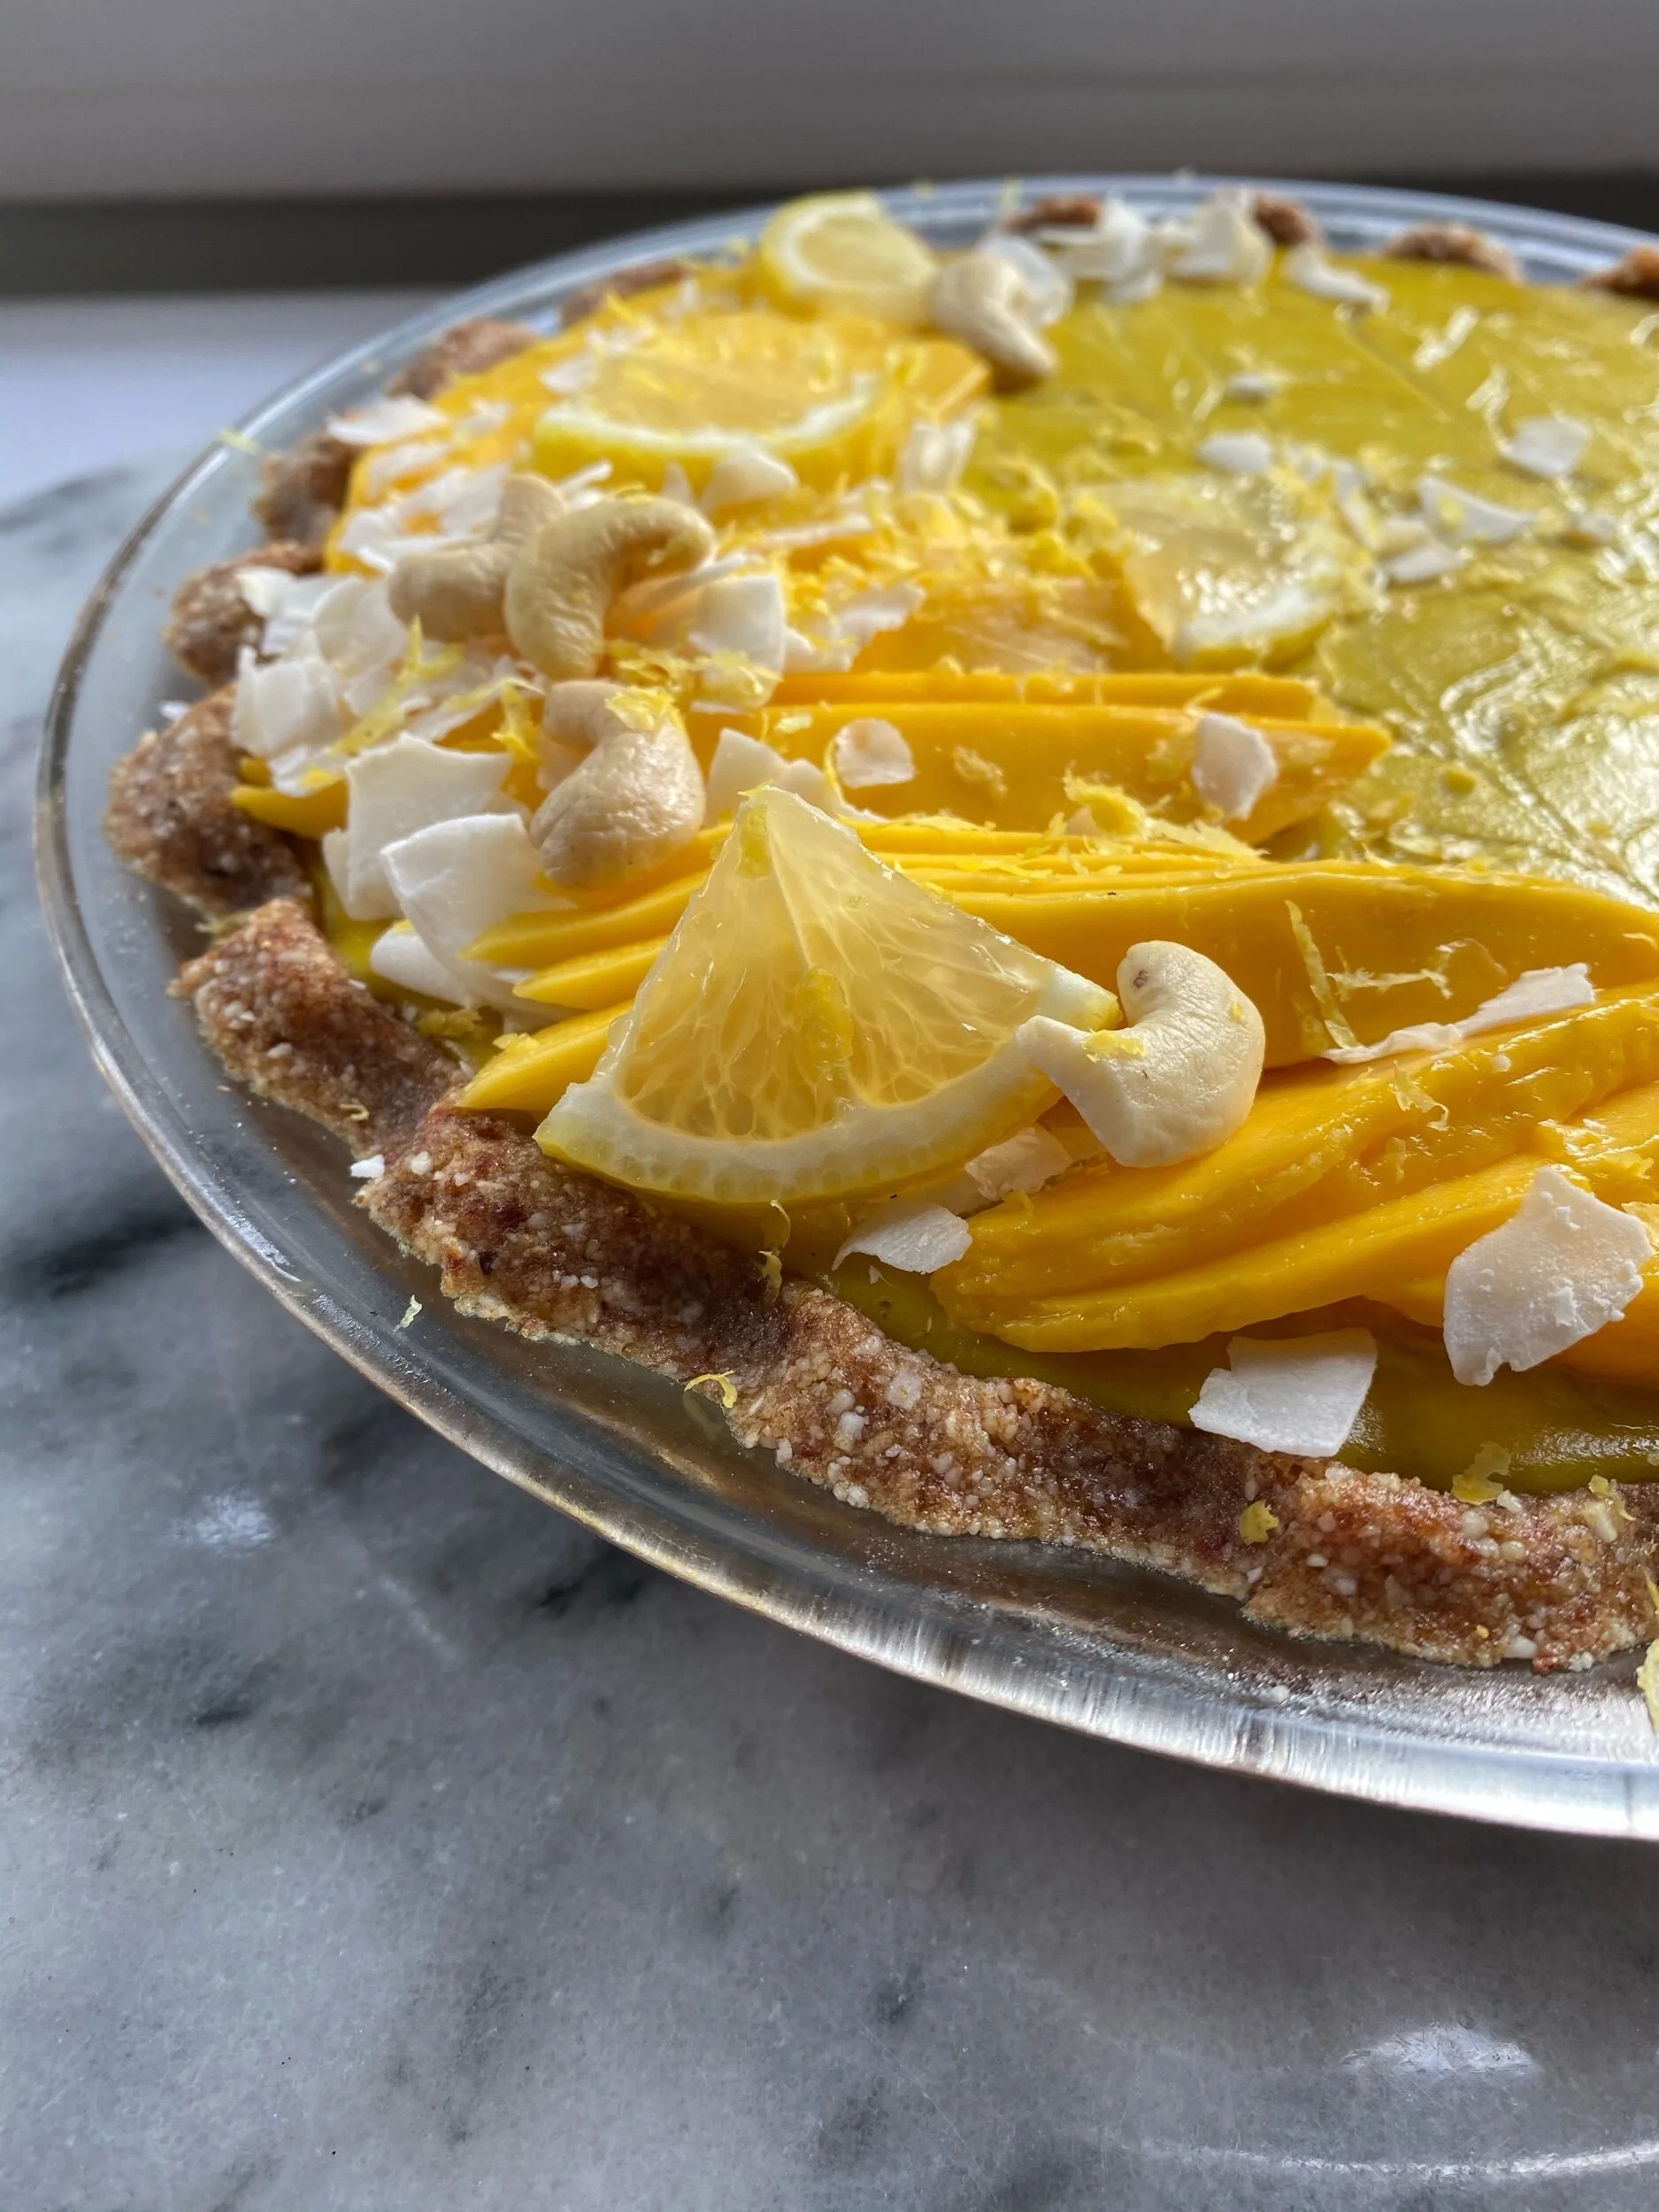
Raw Cashew Tart–A Healthy Dessert

The filling is flavored with a beet and rose powder and the top is loaded with raspberries! I added way more before i served this so everyone got a nice helping!
I have been on a dessert kick here in 2024—add that on top of the January health cleanse that I participated/ co-facilitated in and BAM, you get a whole bunch of gluten free, processed-sugar free deserts! But I promise they do not disappoint!
My favorite type of dessert that I have been experimenting with these days is a raw cashew tart. It is my version of a cashew “cheesecake”, loaded with lots of nuts and sweetened with dates and maple syrup.
What I love about playing with these ingredients is that, once I established the base ratios, then it was really easy to change the flavor! So far this year I made a rose beet raspberry tart and a mango turmeric, and am currently dreaming up a pistachio mint cacao. One of my driving forces behind these creations is to make them beautiful and the coloring bold.
These tarts have a coconut and nut-based crust, I mainly use almonds, but walnuts or macadamia would work nicely. I use dates to help sweeten it slightly, as well as make it stick together. It can be baked for about ten–fifteen minutes at 350 degrees, if you would like it to have a bit more of a crunch, but they you would be stepping away from the “raw” part of this recipe. I have made it both with an unbaked crust and a slightly cooked crust, and I really cant decide which one I like best!. Depending on how thick you make the crust you may have left over “dough”, I like to take the extra and roll it into small balls, and pop into the fridge to snack on later. They make a really simple and easy version of a bliss balls.


The secret to making the inside filling of cashew cream set, it to use a high quality coconut cream, usually this comes in a box or a can, with very little to no liquid. If you open a can of coconut cream that has a bunch of liquid, just save it for later. It is a great addition to smoothies!
Make sure to give the finished product ample time to chill and set in the refrigerator before serving so the inside is nice and firm. It is really very easy to make and alter! So have fun and let me know how it comes out!

Raw Cashew Tart
Serves 8-10
Ingredients
Crust:
2 cups raw almonds, can be whole or slivered depending on the quality of your food processors
2 cups shredded coconut
10 dates
pinch of salt
Filling:
2 cups raw cashews soaked
1 can/box coconut cream ( about 14 ounces)
3 Tbsp. maple syrup
Flavorings- Here my favorite part!! this is where you can really start to experiment and play and choose flavors to your liking!
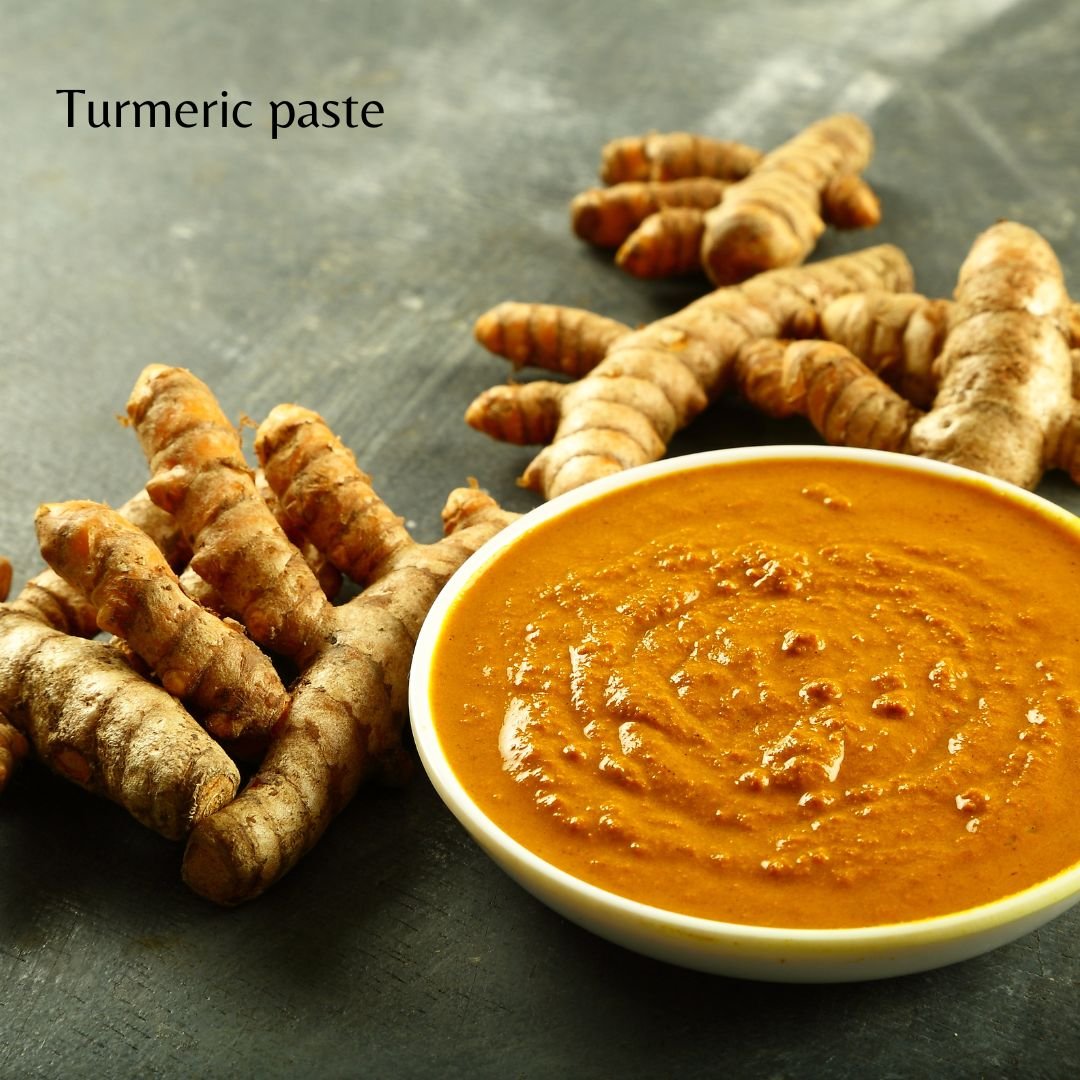
For the Turmeric Mango Tart- 1 1/4tsp ginger powder, 1 3/4 tsp. turmeric powder, add more or less to your liking! Mangos added on top!
For the Beet Raspberry Rose- 2 Tbsp. dehydrated beet powder, 1 tsp. rose powder- add more or less to your liking! Raspberries added on top!
Fruit -to add on top for decoration and accent- Mangos, Raspberries, Lemons
Procedure
Rinse and soak the cashews overnight or for atleast 6 hours.
For the crust: Place the almonds into a food processor, and grind until they resemble coarse crumbs/ flour. Remove them and set aside for the moment.
Place the pitted dates and the coconut flakes into the food processor and grind until everything is finely ground up. Place the almonds back in, add salt, and grind everything really well. Should be a nice sticky, the finer the grind the easier it will be for the dough to stick together.
Remove and place into a tart or pie dish. Press firmly to form to sides and bottom of pan, forming a nice cohesive crust. Make sure there are no holes, and that it is an even thickness. For a crunchier crust, place into oven at 350 degrees for 10-15 minutes, for a light golden brown and aromatic scent to start. If you choose to bake- make sure it is cooled before you fill. Or just set into the fridge until you are ready to fill.
For the filling: Drain, and rinse the soaked cashews. Place into a high power blender or food processor. Add coconut cream (without liquid or very small amount of liquid), and maple syrup, blend until thick and creamy. Add desired flavors/spices, blend well. if you want to make a layered or swirled tart, remove half of the cream before adding in spices, add spices to the half still in the blender and mix well… for a layered look -pour two different layers into crust, making sure to place the first into the fridge to set before adding the next layer. For a more swirled look, you do not need to let set between pouring, just add two fillings in and swirl with a knife or spatula.
Pour filling into the crust and place into the fridge for about 4-6 hours to let filling set, or into the freezer for about 45 minutes.
Once filling it set, load the top with fruits, nuts or other toppings that you desire.
ENJOY!


Beet powder gives a really beautiful coloring and amazing sweetness. Rose powder is available many places, I love the one from Anima mundi herbals.
I have made each of these recipes a few times and each time I slightly alter the amounts of the herbs/ spices so feel free to explore. I tried to deepen the yellow color when making the turmeric tart with out making the turmeric flavor to intense and I also made one in which i added in 1 Tbsp. CocoHydrate , a dehydrated coconut powder and it gave a really nice tropical flavor!.
I will update this article as I continue experimenting with flavors! I’m going to make a green tart next!


The 5-Minute Spleen-Boosting Snack: Honey Toasted Walnuts